Homemade Enzyme Cleaner for Cat Urine (Easy Recipe)
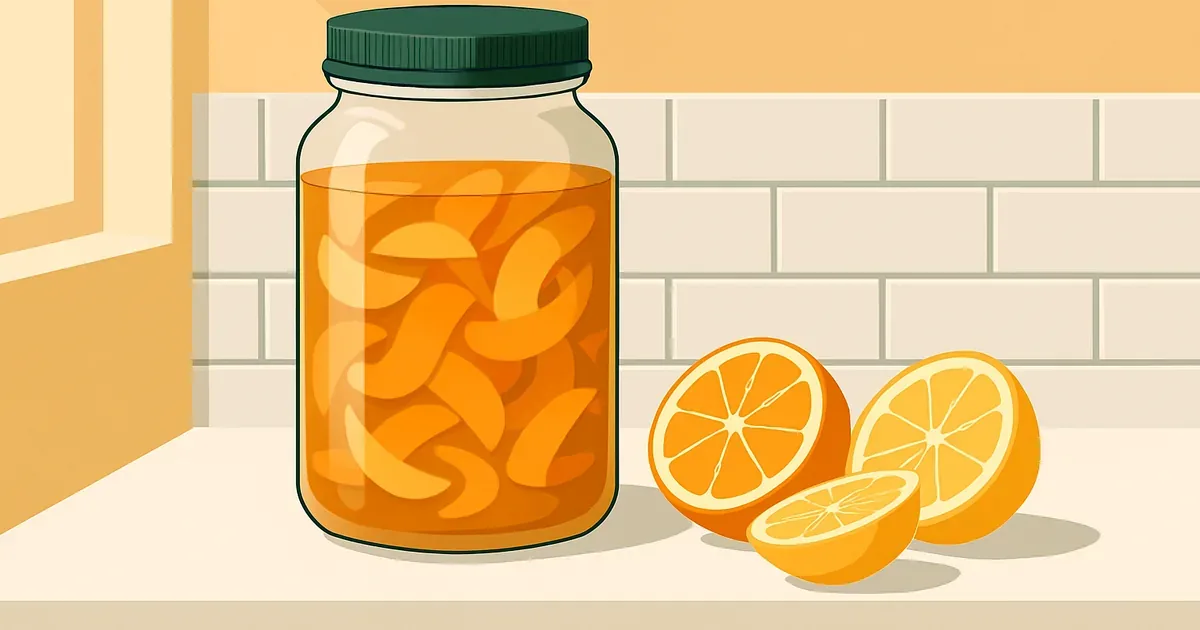
Table of Contents
You can make a homemade enzyme cleaner with citrus peels, brown sugar, water, and about 2-4 weeks of patience. The fermentation process produces lipase and protease enzymes that break down organic stains and odors. It works for light messes, but it won’t match the enzyme concentration in commercial products for tough pet urine stains.
In this guide, we’ll walk you through the recipe, the science behind fermentation, tips for stronger batches, and an honest comparison to store-bought options. If you want to understand how commercial enzyme cleaners work, that guide covers the basics.
Affiliate Disclosure: This page contains affiliate links. When you purchase through our links, we may earn a commission at no additional cost to you. Full disclosure.
What you need (ingredients and supplies)
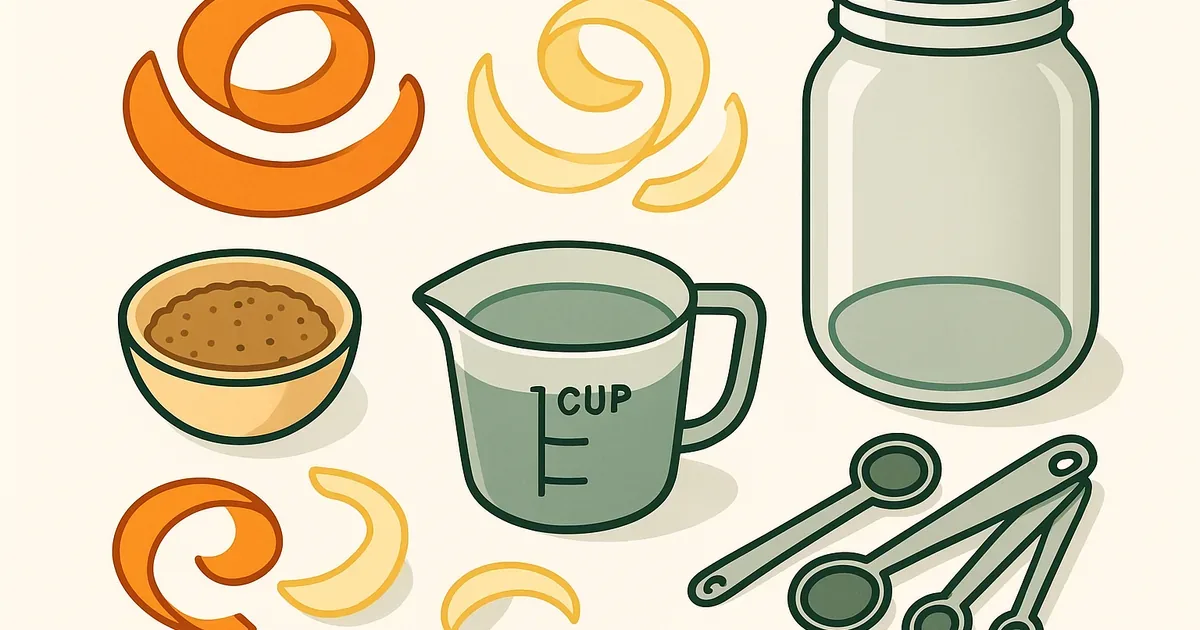
The ingredient list is short and cheap. You probably have most of it already.
- Citrus peels (orange, lemon, or grapefruit)
- Brown sugar (feeds the bacteria during fermentation)
- Water (chlorine-free is best; let tap water sit uncovered for 24 hours to off-gas chlorine)
- A 2-liter plastic bottle or glass jar with a loose-fitting lid
- A fine mesh strainer or cheesecloth (for filtering the finished product)
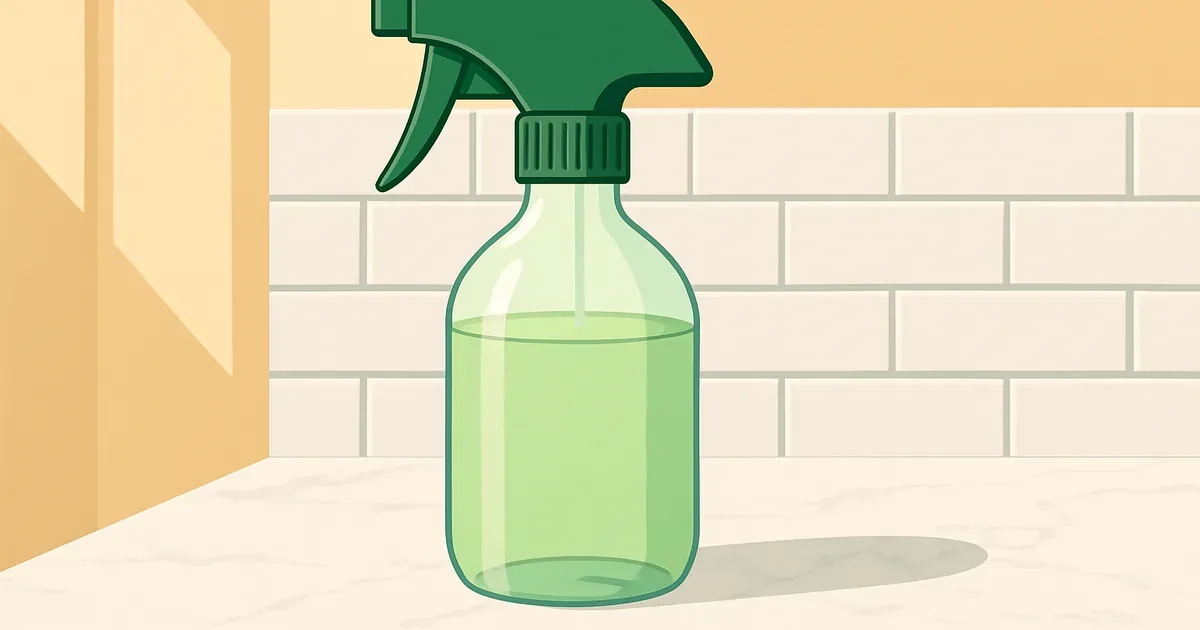
- A spray bottle (for storing and using the cleaner)
Total cost per batch runs under $3. You’ll get about 1.5 liters of finished cleaner from a standard batch.
Step-by-step recipe
This recipe uses a 3:1:10 ratio of citrus peels to brown sugar to water. That ratio gives the bacteria enough food to produce a useful amount of enzymes.
-
Combine your ingredients. Add 3 cups of chopped citrus peels, 1 cup of brown sugar, and 10 cups of water to your jar or bottle. Use peels from any citrus fruit. Orange peels are the most common, but lemon and grapefruit work just as well.
-
Mix gently. Stir until the brown sugar dissolves into the water. You don’t need to blend or crush the peels. Just make sure the sugar is fully dissolved so the bacteria can access it.
-
Seal loosely. Place the lid on the container, but don’t screw it tight. Fermentation produces carbon dioxide gas, and a sealed container will build pressure. A loose lid lets gas escape. You can also cover the opening with cheesecloth held in place with a rubber band.
-
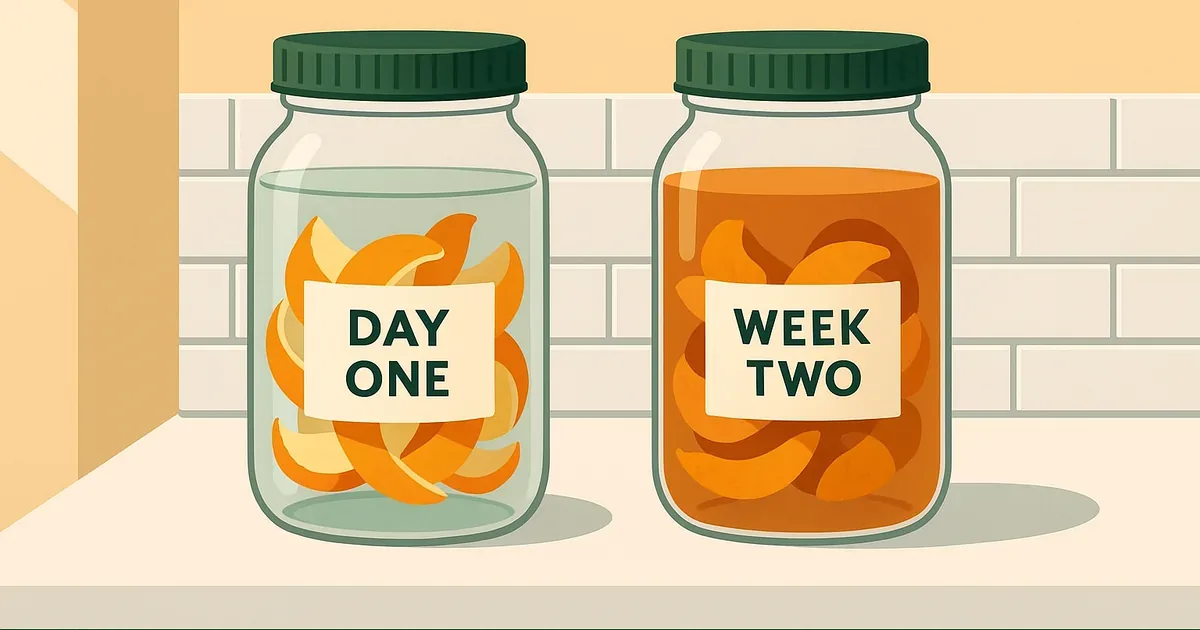
Wait 2-4 weeks. Store the jar in a cool, dark place like under the kitchen sink or in a closet. Swirl it gently every 2-3 days. You’ll see small bubbles forming after the first week. That’s a sign fermentation is active.
-
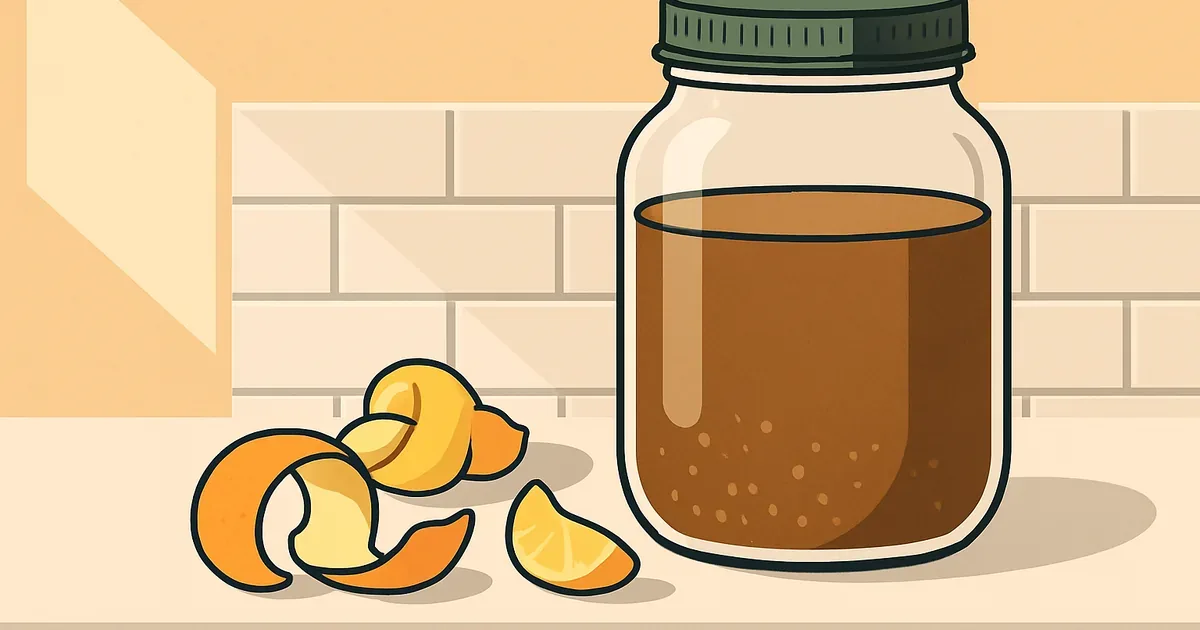
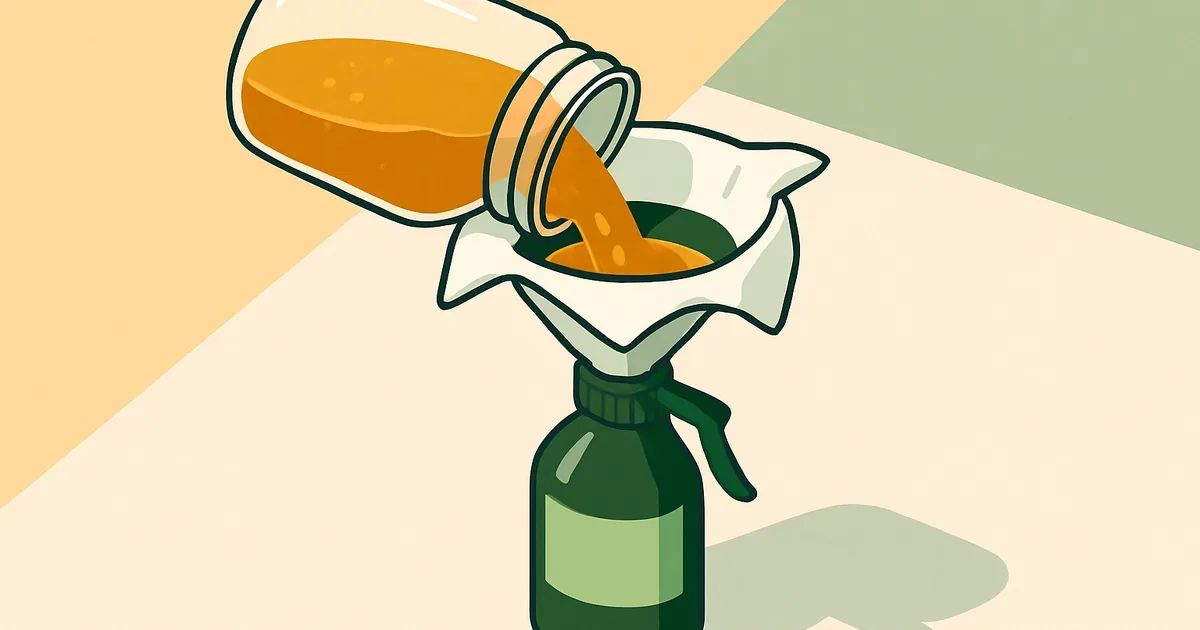
Strain and bottle. After 2-4 weeks, the liquid should look cloudy and slightly amber. Strain out the citrus peels through a mesh strainer or cheesecloth. Pour the finished cleaner into a spray bottle. Store any extra in the refrigerator.
⚠️ Never Seal the Container Tight
Fermentation produces CO2 gas. A tightly sealed container will build pressure over days and can burst or pop its lid violently. Always leave the lid loose or use a breathable cover like cheesecloth. If you notice the container bulging, release the pressure right away.
The science behind DIY enzyme cleaners
Knowing what’s happening inside the jar helps you troubleshoot problems and set realistic expectations for what your cleaner can do.
What happens during fermentation
Natural bacteria living on the surface of citrus peels multiply using the brown sugar as food. As these bacteria eat and grow, they produce enzymes as metabolic byproducts.
The primary enzymes you’ll get are:
- Lipase (breaks down fats and oils)
- Some protease (breaks down proteins)
The citric acid in the peels also lowers the pH of the mixture. This mildly acidic environment helps prevent harmful bacteria from taking over and favors the beneficial strains.
According to research published in the Journal of Applied Microbiology, citrus peel fermentation can produce several types of enzymes depending on the bacterial strains present and the fermentation conditions.
Why it takes 2-4 weeks
There’s no shortcut here. Bacterial colonies need time to establish, multiply, and produce meaningful enzyme concentrations.
- The first few days are mostly bacterial growth. Not much enzyme output yet.
- By week one, enzyme production ramps up as colonies reach critical mass.
- Weeks two through four see the highest enzyme concentration.
- Temperature affects speed. Warmer conditions (up to about 85F) speed things up. But temperatures above 95F can kill the beneficial bacteria.
ℹ️ Wild Bacteria vs Lab-Cultured Strains
Commercial enzyme cleaners use lab-cultured bacterial strains selected for high enzyme output. Your DIY version relies on whatever wild bacteria happen to live on your citrus peels. That’s why a homemade batch produces far less enzyme per ounce than a store-bought formula. The science is the same, but the scale is very different.
Tips for a stronger batch
If you want to push your homemade cleaner closer to its maximum potential, try these adjustments:
- Use fresh peels. Peels that just came off the fruit carry more live bacteria and more citrus oils than peels that sat in the trash for a day. The USDA has published research on the antimicrobial properties of citrus oils.
- Add a bacterial starter. A tablespoon of raw, unfiltered apple cider vinegar introduces additional beneficial bacteria that jumpstart fermentation.
- Keep the temperature between 68-85F. This range is ideal for the types of bacteria that produce cleaning enzymes. A kitchen cabinet works well in most climates.
- Ferment longer. Extending the fermentation to 2-3 months produces higher enzyme concentration. The cleaner gets noticeably stronger after the first month.
- Increase the peel-to-water ratio. Using more peels gives the bacteria more surface area to colonize, which means more enzyme production overall.
Troubleshooting common problems
Fermentation can go sideways. Here’s what to do when something looks or smells wrong.
- Mold on the surface: Skim it off with a spoon. Add another tablespoon of brown sugar. Make sure all the peels stay submerged under the liquid. Mold grows where peels sit above the waterline and contact air.
- Smells terrible: A mild sour or yeasty smell is normal. A strong rotten egg smell means sulfur-producing bacteria took over. Discard the batch and start fresh with new peels.
- Doesn’t seem to clean anything: The batch is likely too weak for the stain type. Try a second or third application. If that still doesn’t work, the stain probably needs a commercial product with a higher enzyme concentration.
- Bottle is bulging: Release the gas immediately by loosening the lid. Then leave the lid loose going forward. Pressure buildup means fermentation is active, which is good, but you need to vent the CO2.
DIY vs store-bought: an honest comparison
We’d love to tell you the homemade version works just as well. It doesn’t. Here’s a straightforward look at how they stack up.
| Factor | Homemade Enzyme Cleaner | Store-Bought Enzyme Cleaner |
|---|---|---|
| Enzyme concentration | Low (wild bacteria, uncontrolled) | High (lab-cultured strains, optimized) |
| Stain types handled | Light surface stains, kitchen grease, mild odors | Set-in pet urine, uric acid crystals, deep carpet stains |
| Cost per batch | Under $3 | $10-30 per bottle |
| Convenience | 2-4 weeks to make | Ready to use |
| Shelf life | 1-3 months (refrigerated) | 1-2 years (sealed) |
| Consistency | Varies batch to batch | Consistent formula |
Where homemade works well
Your DIY cleaner is a solid daily-use spray for:
- Kitchen counters and stovetop grease
- Light surface stains on fabric
- Mild pet odors on hard floors
- General household cleaning where you’d reach for an all-purpose spray
Where store-bought wins
Commercial enzyme cleaners are the better choice for:
- Set-in pet urine (especially cat urine with uric acid crystals)
- Deep carpet stains that have soaked into padding
- Anything time-sensitive where you need results today
- Stains on porous surfaces like concrete or grout
If you’re dealing with tough cat urine stains, check our list of the best enzyme cleaners for cat urine. For dog accidents, we have a separate roundup of enzyme cleaners for dog urine.
💡 Think of It as a Daily Spray
Your homemade enzyme cleaner works best as an everyday surface cleaner. For serious pet accidents or old stains, reach for a commercial formula with targeted enzyme blends. Our step-by-step urine stain removal guide covers the right technique for tough jobs.
⚠️ Not a Disinfectant
Your homemade enzyme cleaner is a cleaner, not a disinfectant. It breaks down organic matter but does not kill bacteria or viruses. If you need to sanitize a surface, use a registered disinfectant after cleaning with your DIY enzyme spray.
What about other DIY recipes?
You’ll find recipes online that use different ingredients: pineapple scraps, vegetable waste, or yeast-based starters. The basic science is the same for all of them. Organic matter plus sugar plus time equals fermentation and enzyme production.
Citrus-based recipes tend to produce the most pleasant-smelling cleaner. Pineapple and papaya peels contain natural enzymes (bromelain and papain), which can give a slight head start. But the fermentation still takes weeks, and the end result is still much weaker than a commercial product.
Some recipes suggest adding yeast to speed things up. Yeast fermentation produces alcohol and CO2 but very little in the way of cleaning enzymes. It’s a different biological process. Stick with the citrus peel method for a cleaner that actually has enzymatic activity.
If you’re curious about which household products contain enzymes, that guide breaks down what’s in common cleaners and detergents.
Wrapping up
Making your own enzyme cleaner is a fun project, and the finished product works well enough for everyday cleaning around the house. The ingredients cost almost nothing, and the process is simple if you’re patient.
Just be realistic about what it can do. A homemade batch fermented on your kitchen counter won’t match the cleaning power of a formula designed in a lab with selected bacterial strains. For light cleaning and mild odors, your DIY version is a solid choice. For serious stains, especially pet urine that’s soaked into carpet or fabric, a commercial enzyme cleaner will save you time and frustration. Check our best pet stain removers for top picks, or learn about the different types of enzymes used in cleaning products.
The EPA notes that homemade cleaning mixtures are not registered disinfectants and should not be relied upon for sanitization purposes. Your DIY enzyme cleaner is a cleaner, not a disinfectant.
Frequently Asked Questions
Does homemade enzyme cleaner work on cat urine?
How long does homemade enzyme cleaner last?
Can I speed up the fermentation process?
Is homemade enzyme cleaner safe for pets?
Can I use homemade enzyme cleaner on hardwood floors?
Related Articles
What Is an Enzyme Cleaner? How They Work
Enzyme cleaners use biological proteins to break down stains and odors at the molecular level. Learn how they work and find the right one for your situation.
Is It an Enzyme Cleaner? 15 Popular Products Answered
We checked the ingredients of 15 popular cleaners to see if they're enzyme-based. OdoBan, OxiClean, Folex, Resolve, and more. Find out here.
Cleaning Product Researcher
Sarah Chen is a pen name for our lead product researcher. A lifelong dog person who now shares her home with two cats, she's no stranger to enzyme cleaners. She writes the guides and reviews on this site based on product research, ingredient analysis, and real user feedback.