How to Remove Urine Stains with Enzyme Cleaners
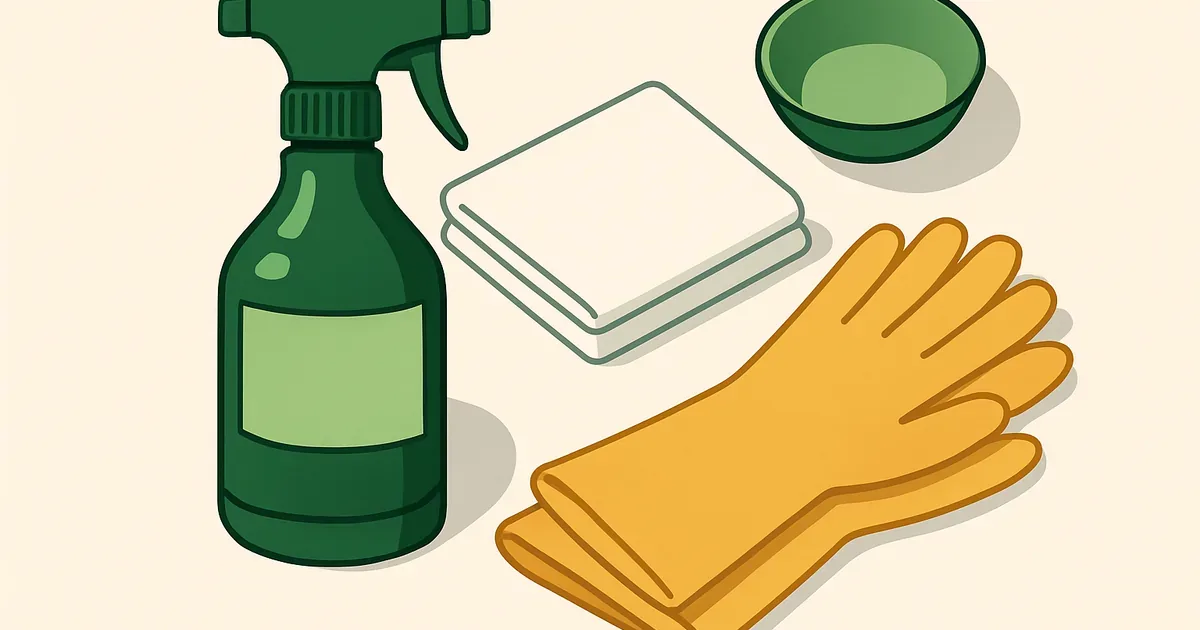
Table of Contents
Enzyme cleaners are the most effective way to remove urine stains because they break down uric acid at the molecular level. Regular cleaners mask the smell or bleach the color. Enzyme cleaners actually dismantle the compounds that cause the stain and the odor. This guide walks you through the right technique for every surface, whether you’re dealing with a fresh puddle or a stain that’s been there for months.
If you’re not familiar with how these products work, start with our guide on what enzyme cleaners are and how they work. That background will help you understand why the steps below matter.
What you’ll need
Before you start, gather these supplies:
- Enzyme cleaner designed for pet or urine stains (check the label for protease enzymes)
- Clean white cloths or paper towels (white so dye doesn’t transfer)
- Plastic wrap or a plastic bag (to cover the treated area)
- Cold water (never hot)
- UV blacklight (optional but very helpful for finding old stains)
- Rubber gloves (optional but recommended)
- Old towels or newspaper (to weigh down plastic wrap)
A quick note on product choice: if you’re cleaning cat urine, check our picks for the best enzyme cleaners for cat urine. Cat urine contains more concentrated uric acid than dog urine and benefits from a stronger formula. For dog accidents, we have a separate list of best enzyme cleaners for dog urine.
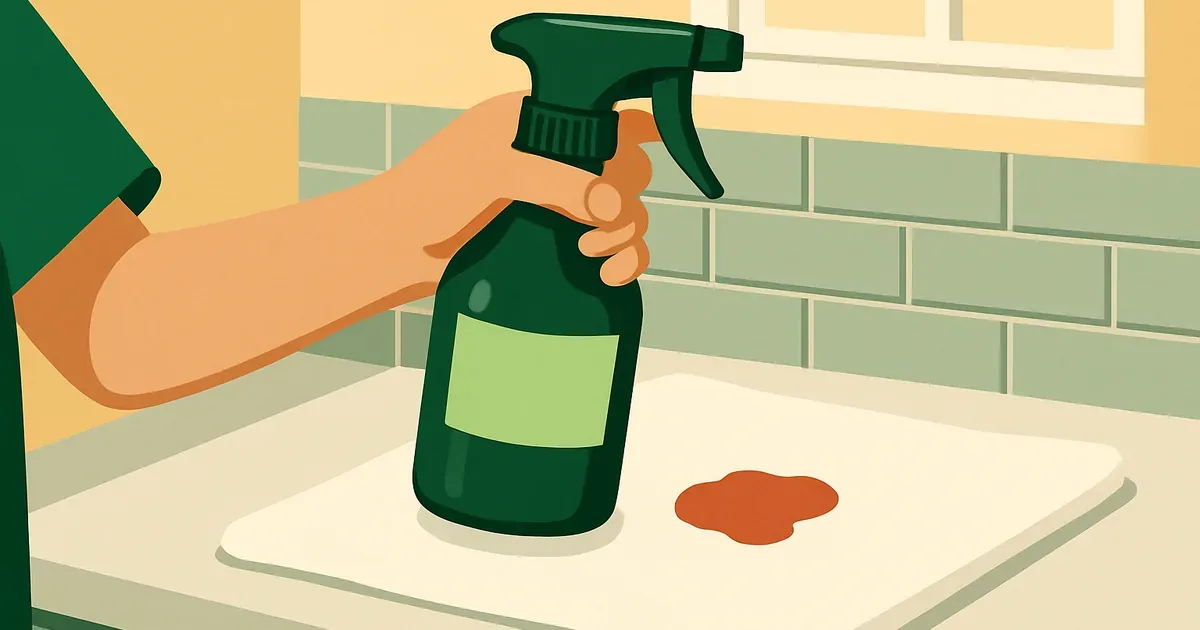
How to remove fresh urine stains
Fresh stains are the easiest to clean because the urine hasn’t had time to bond with fibers or soak deep into padding. Speed matters here. The faster you act, the less product you’ll need and the fewer repeat treatments you’ll do.
-
Blot the area immediately. Press clean white cloths or paper towels into the stain. Push down firmly with your hands or stand on the towels to absorb as much liquid as possible. Keep blotting with fresh cloths until no more moisture transfers. Never rub or scrub. Rubbing pushes urine deeper into the fibers and spreads the stain outward.
-
Apply enzyme cleaner generously. You need enough product to match the volume of urine that soaked in. If your pet left a puddle the size of a dinner plate, spray enough enzyme cleaner to cover that same area and soak to the same depth. This is where most people go wrong. A light mist on the surface won’t reach urine that soaked an inch into carpet padding.
-
Let it sit for at least 15 minutes. The enzymes need time to find and break down the uric acid molecules. Fifteen minutes is the minimum for a fresh stain. Thirty minutes is better. Don’t rush this step. The enzymes are working the entire time the area stays moist.
-
Blot again and air dry. Press clean cloths into the area to absorb the enzyme cleaner and dissolved stain residue. Then let the spot air dry completely. Don’t use a hair dryer, heat lamp, or heater to speed things up. Heat above 140F deactivates enzymes, and any remaining enzymes are still doing useful work as the area dries.
⚠️ Never Use Hot Water
Hot water (above 140F) denatures the proteins in enzyme cleaners. This permanently deactivates them. Always use cold or lukewarm water when rinsing or diluting enzyme products. If your enzyme cleaner comes pre-mixed, don’t dilute it at all.
For most fresh stains on hard surfaces, one application gets the job done. On carpet or upholstery, you may need a second round if you notice any lingering smell after the area dries completely.
How to remove set-in urine stains
Old stains are harder because uric acid has had time to crystallize and bond with the surface. These crystals are what cause that lingering smell that comes back on humid days. The good news: enzyme cleaners still work on old stains. You just need more product, more time, and maybe a repeat application.
- Find all the stains. This is the step most people skip, and it’s the reason they still smell urine after cleaning. Darken the room as much as possible. Turn on a UV blacklight and slowly scan the floor, walls (up to about 2 feet high), baseboards, and furniture legs. Dried urine glows yellow-green under UV light. Mark each spot with painter’s tape so you can find them with the lights on.
💡 UV Blacklight Trick
A UV blacklight (around $10-15 at most hardware stores) reveals every old urine stain in the room. You’ll likely find spots you didn’t know about, especially along baseboards, behind furniture, and in corners. This one tool can make the difference between a room that smells clean and one that doesn’t.
-
Saturate the area completely. Use two to three times more enzyme cleaner than you think you need. The product has to reach everywhere the urine went. On carpet, that means soaking through the carpet fibers into the padding below. On concrete, that means flooding the pores of the surface. If the original stain was the size of a softball, the urine likely spread to the size of a basketball underneath. Treat the larger area.
-
Cover with plastic wrap. Lay plastic wrap or a plastic bag over the treated area. This is a critical step that most people skip. Enzymes only work while the area is moist. Without a cover, the enzyme cleaner evaporates in a few hours. Under plastic, it stays wet for a full day. Weigh down the edges with old towels or heavy objects to keep the plastic in place.
-
Wait 8 to 24 hours. Overnight is a good target for most set-in stains. For stains that are several months or years old, let the enzyme cleaner work for a full 24 hours. The enzymes break down uric acid crystals gradually. Rushing this step is the single most common reason for needing repeat treatments.
-
Blot, check, and repeat if needed. Remove the plastic wrap. Blot the area with clean white cloths. Let it air dry completely (this may take another 12-24 hours). Once dry, check for any remaining discoloration or odor. If you still notice a faint smell, especially when the area gets warm or humid, apply a second round of enzyme cleaner and repeat the process.
Based on our research, most set-in urine stains need one to two treatments. Heavily soiled areas (like a spot a cat has been using for months) may need three treatments before the uric acid is fully broken down.
Surface-specific instructions
The basic process above works on any surface. But different materials need a few adjustments to get the best results without causing damage.
Carpet
Carpet is the most common surface for urine stains and also the trickiest. The problem isn’t the carpet fibers themselves. It’s the padding underneath.
Urine soaks through carpet fibers into the carpet pad within minutes. On a large stain, it can even reach the subfloor below. Your enzyme cleaner has to reach all of that.
Here’s what to keep in mind:
- Saturate through to the pad. Push the enzyme cleaner into the carpet with your hand or a clean cloth. You should feel moisture at the base of the carpet fibers.
- Treat a larger area than the visible stain. Urine wicks outward through the pad. The stained area underneath is always bigger than what you see on the surface.
- Use the plastic wrap method for any stain older than a day.
- For severe or repeated staining, consider renting a carpet extractor (available at most home improvement stores for around $30-40/day). Apply enzyme cleaner, let it sit, then use the extractor to pull the dissolved residue from deep in the pad.
If a carpet still smells after three enzyme treatments, the urine may have soaked into the subfloor. At that point, the carpet pad likely needs replacing in that section. For more on carpet-specific products, see our best enzyme carpet cleaner picks.
Hardwood floors
Hardwood floors fall into two categories: sealed and unsealed. Knowing which you have determines your approach.
Sealed hardwood (has a glossy or satin finish) handles enzyme cleaner well. Apply the product, let it sit for 15-30 minutes, then wipe completely dry. Don’t leave moisture sitting on sealed wood for hours. The seal protects the wood, but prolonged moisture can still work its way into seams between boards.
Unsealed hardwood (raw or wax-finished) is more vulnerable. Urine can soak into the grain of the wood itself. Apply enzyme cleaner sparingly and wipe dry within 10-15 minutes. You may need multiple short applications rather than one long soak. Don’t use the plastic wrap method on unsealed wood.
For both types, here’s the rule: always wipe the floor dry after treating. Standing liquid on wood causes warping, buckling, and discoloration. If urine has soaked deep into unsealed hardwood and left dark stains, you may need to sand and refinish that section of floor. We cover this topic in depth in our enzyme cleaner on hardwood floors guide.
Tile and grout
Tile itself is usually non-porous and easy to clean. Grout is the problem.
Grout is porous and absorbs urine like a sponge. That’s why tiled areas (especially around toilets and in entryways) can hold urine odors even after you’ve mopped multiple times. The urine is inside the grout lines.
To treat tile and grout:
- Apply enzyme cleaner directly to the grout lines. A spray bottle works, but pouring a small amount along the grout gives better saturation.
- Scrub grout lines with a stiff brush. This opens the pores and helps the enzyme cleaner penetrate. An old toothbrush works for small areas. A grout brush works better for larger spaces.
- Let it sit for 30-60 minutes. Grout holds onto uric acid crystals tightly. Give the enzymes extra time.
- Wipe clean and check. If the odor persists, apply a second round and use the plastic wrap method to keep the grout wet longer.
For heavily stained grout, you may want to apply enzyme cleaner, cover the area, and leave it overnight. Once the grout is clean, consider sealing it with a grout sealer to prevent future absorption.
Concrete
Concrete is highly porous. Urine can seep half an inch or more into an untreated concrete surface. This makes concrete floors in garages, basements, and patios some of the hardest surfaces to fully clean.
Here’s the approach that works:
- Flood the area with enzyme cleaner. Don’t spray. Pour enough product to create a thin puddle that covers the entire stained area.
- Cover with plastic sheeting. Use a larger piece of plastic than the treatment area. Tape the edges to the concrete with painter’s tape.
- Wait 24 hours minimum. Concrete needs the longest treatment time because of its porosity. For stains that have been there for months, 48 hours works better.
- Repeat 2-3 times for heavy staining. Each application breaks down more uric acid crystals that are deeper in the concrete.
Based on our research, most concrete urine stains need at least two full treatments. Three is common for garage floors where pets have had regular accidents.
ℹ️ Concrete Sealant
After fully removing the urine stain and odor from concrete, apply a concrete sealant to prevent future urine from soaking in. This makes future cleanups much faster and easier. Concrete sealant costs about $25-40 per gallon and covers around 200 square feet.
Upholstery and mattresses
Fabric furniture and mattresses need a more careful approach because you can’t soak them the way you would a floor. Too much moisture leads to mold growth inside the cushion or mattress.
Follow these steps:
- Test in a hidden spot first. Apply a small amount of enzyme cleaner to an inconspicuous area (back of the cushion, underside of the mattress). Wait 10 minutes. Check for discoloration or fabric damage.
- Spray, don’t pour. Use a spray bottle to apply enzyme cleaner in a light, even coat. You want the surface damp, not dripping.
- For deep stains, work the product in gently. Use a clean cloth to press the enzyme cleaner into the fabric. Don’t scrub aggressively.
- Air dry completely. This is critical for mattresses. Stand the mattress on its side if possible. Point a fan at the treated area. A mattress that stays damp too long can develop mold inside.
- Allow 24-48 hours for full drying before putting sheets back on a mattress or sitting on upholstered furniture.
For mattresses with heavy urine staining (common with young children or elderly family members), a waterproof mattress protector after cleaning saves you from repeating this process. For a full walkthrough, see our enzyme cleaner for mattresses guide. More on prevention below.
Why your first attempt failed
If you’ve already tried an enzyme cleaner and the stain or smell is still there, one of these five mistakes is almost certainly the reason. Based on our research, these are the issues we see come up again and again.
-
You didn’t use enough product. This is the most common mistake by far. People spray the surface and call it done. But urine soaks deep. Your enzyme cleaner has to match the volume of urine that went in. On carpet, that means saturating through to the pad. On concrete, that means flooding the pores. A light mist on top does almost nothing for a stain that soaked an inch deep.
-
You didn’t let it sit long enough. Enzymes are biological molecules, not chemical solvents. They don’t work instantly. A fresh stain needs at least 15 minutes. An old stain needs 8-24 hours. If you sprayed and wiped up after 5 minutes, the enzymes barely got started. The product label usually lists a minimum contact time. Follow it. Then add more time for older stains.
-
You used hot water. Heat above 140F permanently deactivates (denatures) the enzymes in the cleaner. If you rinsed the area with hot water before applying, or mixed the enzyme cleaner with hot water, the product was dead before it touched the stain. Always use cold or room temperature water.
-
You mixed it with bleach or vinegar. Bleach destroys enzymes on contact. Vinegar (pH 2-3) creates an environment too acidic for enzymes to function. Many people clean a spot with vinegar first, then apply enzyme cleaner. This doesn’t work. If you’ve already used vinegar or bleach, rinse the area thoroughly with cold water and let it dry before applying enzyme cleaner.
-
You only treated the surface. You cleaned the stain you could see, but the urine went deeper than that. On carpet, urine spreads out underneath like an upside-down mushroom. The visible spot on top is always smaller than the contaminated area below. A UV blacklight helps you see the full extent of the stain so you can treat the entire area.
⚠️ Don't Double Up on Chemicals
Never mix enzyme cleaners with bleach, vinegar, hydrogen peroxide, or ammonia-based cleaners. These chemicals destroy the enzymes. If you’ve already cleaned with any of these products, rinse the area well with plain cold water and let it dry fully before applying your enzyme cleaner. Using them at the same time wastes your product.
If you fix these five issues and try again, there’s a strong chance the enzyme cleaner will work on the second attempt. For more on timing, see how long enzyme cleaners take to work. For a roundup of proven options, see our list of top-rated pet stain removers.
When to call a professional
Enzyme cleaners handle most urine stains well. But there are situations where the damage goes beyond what a consumer product can fix.
Call a professional carpet cleaner or restoration company if:
- The urine has reached the subfloor. If carpet still smells after three enzyme treatments, the urine likely soaked through the pad into the plywood or concrete below. A professional can pull back the carpet, replace the pad, and treat or seal the subfloor.
- You see or suspect mold. Dark spots on the carpet backing, a musty smell, or visible mold on baseboards near the stain mean moisture has been sitting too long. Mold requires professional remediation, not just cleaning.
- The affected area is very large. A room where a pet has been having accidents for weeks or months may need professional extraction equipment. Pros have truck-mounted extractors that pull moisture from deep in the carpet and pad more effectively than rental units. The Institute of Inspection, Cleaning and Restoration Certification (IICRC) can help you find a certified technician.
- Hardwood floors are warped or blackened. Urine that has soaked into unsealed hardwood long enough to cause warping or deep discoloration usually needs sanding and refinishing. A flooring professional can assess whether the boards can be restored or need replacement.
A professional cleaning for urine damage typically costs $150-400 depending on the size of the affected area and the surface type. Subfloor treatment or carpet pad replacement adds to the cost, but it’s the only way to fully resolve severe contamination.
Preventing future stains
Once you’ve dealt with the current stain, a few simple steps can save you from repeating the whole process.
Protect your surfaces
- Waterproof mattress protectors stop urine from reaching the mattress at all. A good one costs $20-40 and washes in the machine. Worth it for any bed used by young children, elderly family members, or pets.
- Waterproof furniture covers or throws work the same way for couches and chairs.
- Training pads or puppy pads catch accidents in a known spot. Particularly useful for elderly dogs or puppies in training.
- Area rugs over carpet or hardwood in high-risk areas give you a washable layer between your pet and the floor.
Address the root cause
Sudden changes in a pet’s bathroom habits often signal a health issue. If your house-trained dog or cat starts having accidents, schedule a vet visit. Common causes include:
- Urinary tract infections
- Kidney issues
- Diabetes
- Anxiety or stress from changes in the household
- Aging and mobility problems
Cleaning up accidents is the short-term fix. Figuring out why they’re happening is the long-term one.
Keep supplies on hand
Having enzyme cleaner in the house before an accident happens makes a big difference. Fresh stains are much easier and faster to treat than set-in ones. Keep a spray bottle of enzyme cleaner under the sink or in a cleaning caddy so you can respond within minutes.
💡 Quick Response Kit
Keep these items together in a bucket or caddy near your pet’s favorite areas: a spray bottle of enzyme cleaner, a roll of paper towels, a few clean white cloths, and a sheet of plastic wrap. Being able to grab everything at once and start blotting immediately gives you the best chance of a one-and-done cleanup.
Wrapping up
Urine stains respond well to enzyme cleaners because enzymes target the specific compounds (uric acid crystals) that cause both the stain and the smell. The technique matters as much as the product. Use enough cleaner to reach everywhere the urine went, give it time to work, keep it moist, and don’t mix it with other cleaning products.
For fresh stains, you’re looking at about 30 minutes of hands-on time. For old stains, the process takes longer but most of that time is waiting. The enzyme cleaner does the work while you go about your day.
If your first attempt didn’t work, go back to the troubleshooting section and check the five common mistakes. Almost every failed cleaning comes down to one of those issues.
Frequently Asked Questions
Can enzyme cleaner remove old urine stains?
Why does the urine smell come back after cleaning?
Can I use a blacklight to find old urine stains?
Should I use hot or cold water with enzyme cleaner?
Can I use enzyme cleaner and vinegar together?
How do I know when the urine stain is completely gone?
Related Articles
What Is an Enzyme Cleaner? How They Work
Enzyme cleaners use biological proteins to break down stains and odors at the molecular level. Learn how they work and find the right one for your situation.
Enzyme Cleaner for Blood Stains: What Actually Works
Protease enzymes break down hemoglobin proteins in blood. Cold water is critical. Follow our step-by-step method.
Cleaning Product Researcher
Sarah Chen is a pen name for our lead product researcher. A lifelong dog person who now shares her home with two cats, she's no stranger to enzyme cleaners. She writes the guides and reviews on this site based on product research, ingredient analysis, and real user feedback.