Enzyme Cleaner for Kitchen Grease and Cooking Odors
Table of Contents
Affiliate Disclosure: This page contains affiliate links. When you purchase through our links, we may earn a commission at no additional cost to you. Full disclosure.
Enzyme cleaners with lipase are your best bet for kitchen grease and cooking odors. Lipase breaks down fat molecules that dish soap and all-purpose cleaners leave behind. Spray it on countertops, stovetops, and inside garbage disposals to cut through grease buildup and the smells that come with it.
This guide covers why lipase matters for kitchens, which surfaces are safe, a garbage disposal cleaning method, and step-by-step kitchen degreasing. For the science behind these products, check our overview of how enzyme cleaners work.
Why kitchens need enzyme cleaners (not just soap)
Dish soap lifts grease off surfaces, but it doesn’t break it down at the molecular level. That’s why your countertops and backsplash can feel slightly tacky even after you’ve wiped them down.
Cooking oils and fats leave a thin film on countertops, backsplashes, and range hoods over time. That film traps food particles and bacteria, creating persistent odors that regular cleaning can’t solve. You’re cleaning the surface but leaving the source of the smell in place.
Lipase enzymes digest fat molecules into water-soluble compounds that rinse away completely. No residual film, no trapped particles, no returning odors. The EPA Safer Choice program lists enzyme-based products that meet their safety standards for household use.
ℹ️ Lipase: The Kitchen Enzyme
Lipase is the key enzyme for kitchen cleaning. It’s the same enzyme your body uses to digest dietary fats. Look for “lipase” on the ingredient list when shopping for a kitchen enzyme cleaner. Some products list it as “lipase enzyme blend” or “fat-digesting enzymes.”
Kitchen surface compatibility guide
Different countertop and surface materials have different tolerances for cleaning products. Here’s what’s safe and what needs caution:
| Surface | Safe for Enzyme Cleaner? | Notes |
|---|---|---|
| Granite (sealed) | Yes | Use pH-neutral formulas only. Avoid acidic enzyme cleaners. |
| Marble | Yes, with caution | pH-neutral only. Acidic or alkaline cleaners can etch marble. |
| Quartz | Yes | Safe for most enzyme cleaners. |
| Butcher block / wood | Use sparingly | Spray on a cloth and wipe. Don’t soak the wood. |
| Stainless steel | Yes | Wipe with the grain after application. |
| Ceramic tile | Yes | Safe for tiles and grout. |
| Laminate | Yes | Wipe dry after treatment. Don’t let solution pool. |
The general rule: most enzyme cleaners are pH-neutral (6-8 range), which makes them safe for nearly every kitchen surface. The risk comes from other ingredients in the formula. Some enzyme cleaners contain citrus-based surfactants (citric acid) that can damage marble or natural limestone over time.
⚠️ Spot-Test First
Always spot-test on a small hidden area, especially on natural stone. Some enzyme cleaners contain citrus-based surfactants that can dull marble or limestone finishes over time. Test in an inconspicuous corner and wait 10 minutes before treating the full surface.
For more on using enzyme cleaners on tile surfaces, see our guide on enzyme cleaner for tile and grout. If you want to understand the full range of enzyme types and how they target different stains, our enzyme cleaner explainer covers that in detail.
How to degrease your kitchen with enzyme cleaner
Here’s the step-by-step process for a thorough kitchen degreasing:
-
Clear the surface. Move dishes, appliances, and food items off the counter. You want direct access to the entire surface.
-
Spray the enzyme cleaner. Apply a thin, even coat to greasy surfaces: countertops, stovetop, backsplash, and range hood exterior. Focus on areas near the stove where cooking oil mist settles.
-
Let it sit for 5-10 minutes. The lipase needs contact time to break down the grease layer. Don’t wipe immediately. You’ll just push the grease around instead of dissolving it.
-
Wipe with a damp microfiber cloth. The broken-down grease lifts away easily. No heavy scrubbing needed. Microfiber picks up dissolved residue better than paper towels.
-
Rinse and dry. Wipe with a clean damp cloth to remove any remaining residue, then dry with a towel. This step matters for granite and marble to prevent water spotting.
-
Repeat weekly. A weekly enzyme wipe-down prevents grease film from building up. It’s much easier to maintain a clean surface than to degrease a neglected one.
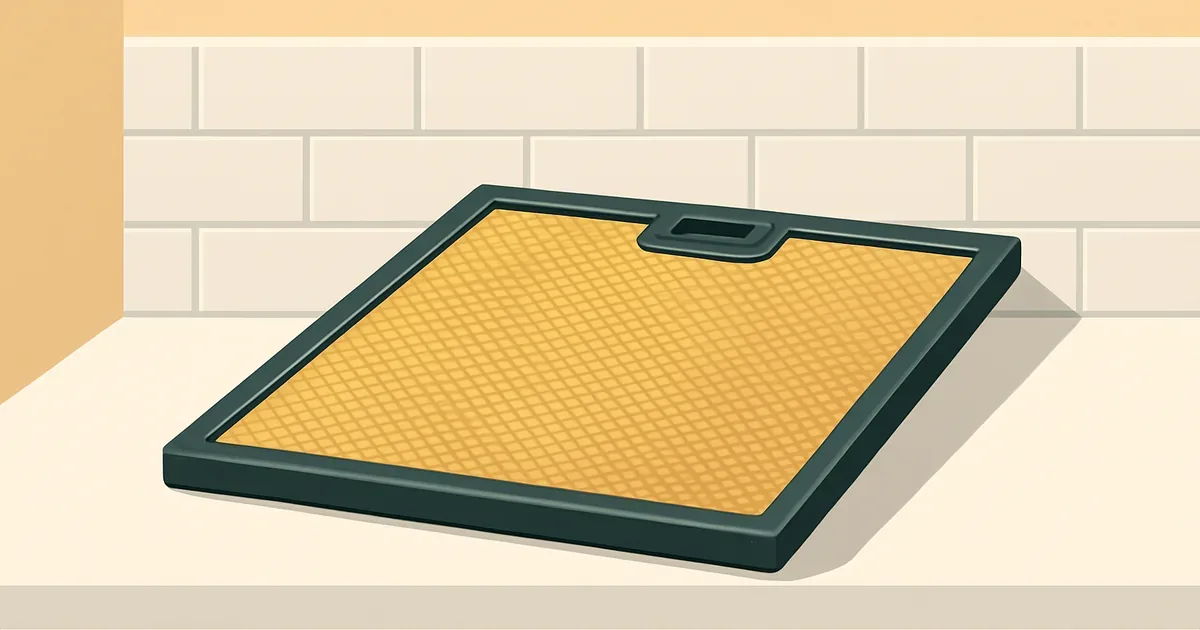
💡 Range Hood Filter Soak
For range hood filters, remove them and soak in a sink filled with warm (not hot) water and a few tablespoons of enzyme cleaner for 30 minutes. The grease lifts off without scrubbing. Rinse with warm water and let them air dry before reinstalling.
Garbage disposal freshening method
Why disposals smell
That sour smell from your garbage disposal isn’t coming from the drain pipe. It’s coming from food particles trapped under the rubber splash guard and grease coating the grinding chamber walls. Running water alone doesn’t reach all these surfaces.
The grease creates a sticky film that traps bacteria. The bacteria produce the odor. Cleaning the grease is the only way to stop the smell at its source.
The enzyme cleaning method
-
Turn off the disposal and unplug it (or flip the circuit breaker). Safety first.
-
Pour 2-3 tablespoons of enzyme cleaner into the disposal opening.
-
Add just enough warm water to fill the chamber. Use warm, not hot. Water above 140F deactivates enzymes.
-
Let it sit for 30 minutes to 1 hour. The enzymes break down grease and food residue inside the chamber.
-
Run cold water and turn the disposal on to flush everything out.
-
Repeat monthly for ongoing maintenance.
For more on enzyme cleaners and drains, check our picks for the best enzyme drain cleaners and our guide to enzyme cleaner for shower and bathroom drains.
Garbage Disposal Enzyme Cleaning
Turn off the disposal
Safety first. Make sure the disposal is off and unplugged if possible.
Pour enzyme cleaner into the drain
Use 2-4 oz of enzyme cleaner. Aim for the drain opening.
Add warm water
Fill the chamber. Use warm, not hot (above 140F deactivates enzymes).
Let sit 30-60 minutes
Enzymes break down grease and food residue inside the chamber.
Run cold water and turn on disposal
Flush everything out.
Repeat monthly
Regular maintenance prevents buildup and odor.
💡 Clean Under the Splash Guard
For extra cleaning, peel back the rubber splash guard and spray enzyme cleaner on the underside. That’s where the worst buildup hides. A small brush (an old toothbrush works) helps scrub that area. Most people never clean this spot, and it’s often the main odor source.
Tackling specific kitchen odors
Different cooking smells need different approaches. The EWG’s Guide to Healthy Cleaning rates cleaning products by safety, which can help you pick enzyme cleaners with fewer harsh additives. Here’s what works for the most stubborn ones.
Fish and seafood odors
Fish smell is among the toughest to remove from a kitchen. The compounds responsible (trimethylamine and related molecules) are protein-based. Enzyme cleaners with protease break these down effectively.
After cooking fish, spray enzyme cleaner on counters, cutting boards (non-wood), and the sink area. Let it sit for 10 minutes, then wipe clean. For cutting boards, rinse thoroughly with water afterward.
Fried food and oil splatter
Cooking oil doesn’t just stay in the pan. Micro-droplets land on walls, cabinet faces, and the ceiling near the stove. Over weeks, this builds up into a sticky film you can feel with your fingertips.
Wipe down vertical surfaces around the stove with enzyme cleaner monthly. Focus on cabinet faces above the stove, the exhaust vent area, and any walls within a few feet of the cooking surface. Commercial kitchens deal with this on a larger scale. Our guide to enzyme cleaners for restaurant kitchens covers heavy-duty degreasing.
Trash can odors
Even with a bag, food residue leaks onto the inside of your trash can. That residue builds up and produces a smell that a new bag can’t cover.
Spray the inside of the trash can with enzyme cleaner after each bag change. Let it air dry before inserting a new bag. The enzymes break down the food residue that bags don’t fully contain. Once a month, rinse the trash can with water after the enzyme treatment for a deeper clean.
If your kitchen drains are backing up from grease buildup, our enzyme cleaner and septic systems guide covers how enzyme products interact with your home plumbing. And for a DIY approach, check out our guide to making your own enzyme cleaner.
The EPA’s indoor air quality resources also recommend proper ventilation alongside cleaning to reduce cooking odors in your home.
Wrapping up
Kitchen grease and cooking odors stick around because dish soap and all-purpose cleaners don’t fully break down fat molecules. Lipase-based enzyme cleaners handle this job. They digest the grease into compounds that rinse away completely, taking the odors with them.
Check your product label for lipase, spot-test on natural stone surfaces, and give the cleaner a few minutes of contact time. A weekly enzyme wipe-down of cooking areas and a monthly garbage disposal treatment keep your kitchen smelling clean without heavy chemicals.
Frequently Asked Questions
Can I use enzyme cleaner on granite countertops?
Will enzyme cleaner remove grease from a range hood?
Is enzyme cleaner safe to use near food prep areas?
How often should I use enzyme cleaner in my garbage disposal?
Can enzyme cleaner replace my regular kitchen degreaser?
Does enzyme cleaner work on grease stains in grout?
Cleaning Product Researcher
Sarah Chen is a pen name for our lead product researcher. A lifelong dog person who now shares her home with two cats, she's no stranger to enzyme cleaners. She writes the guides and reviews on this site based on product research, ingredient analysis, and real user feedback.